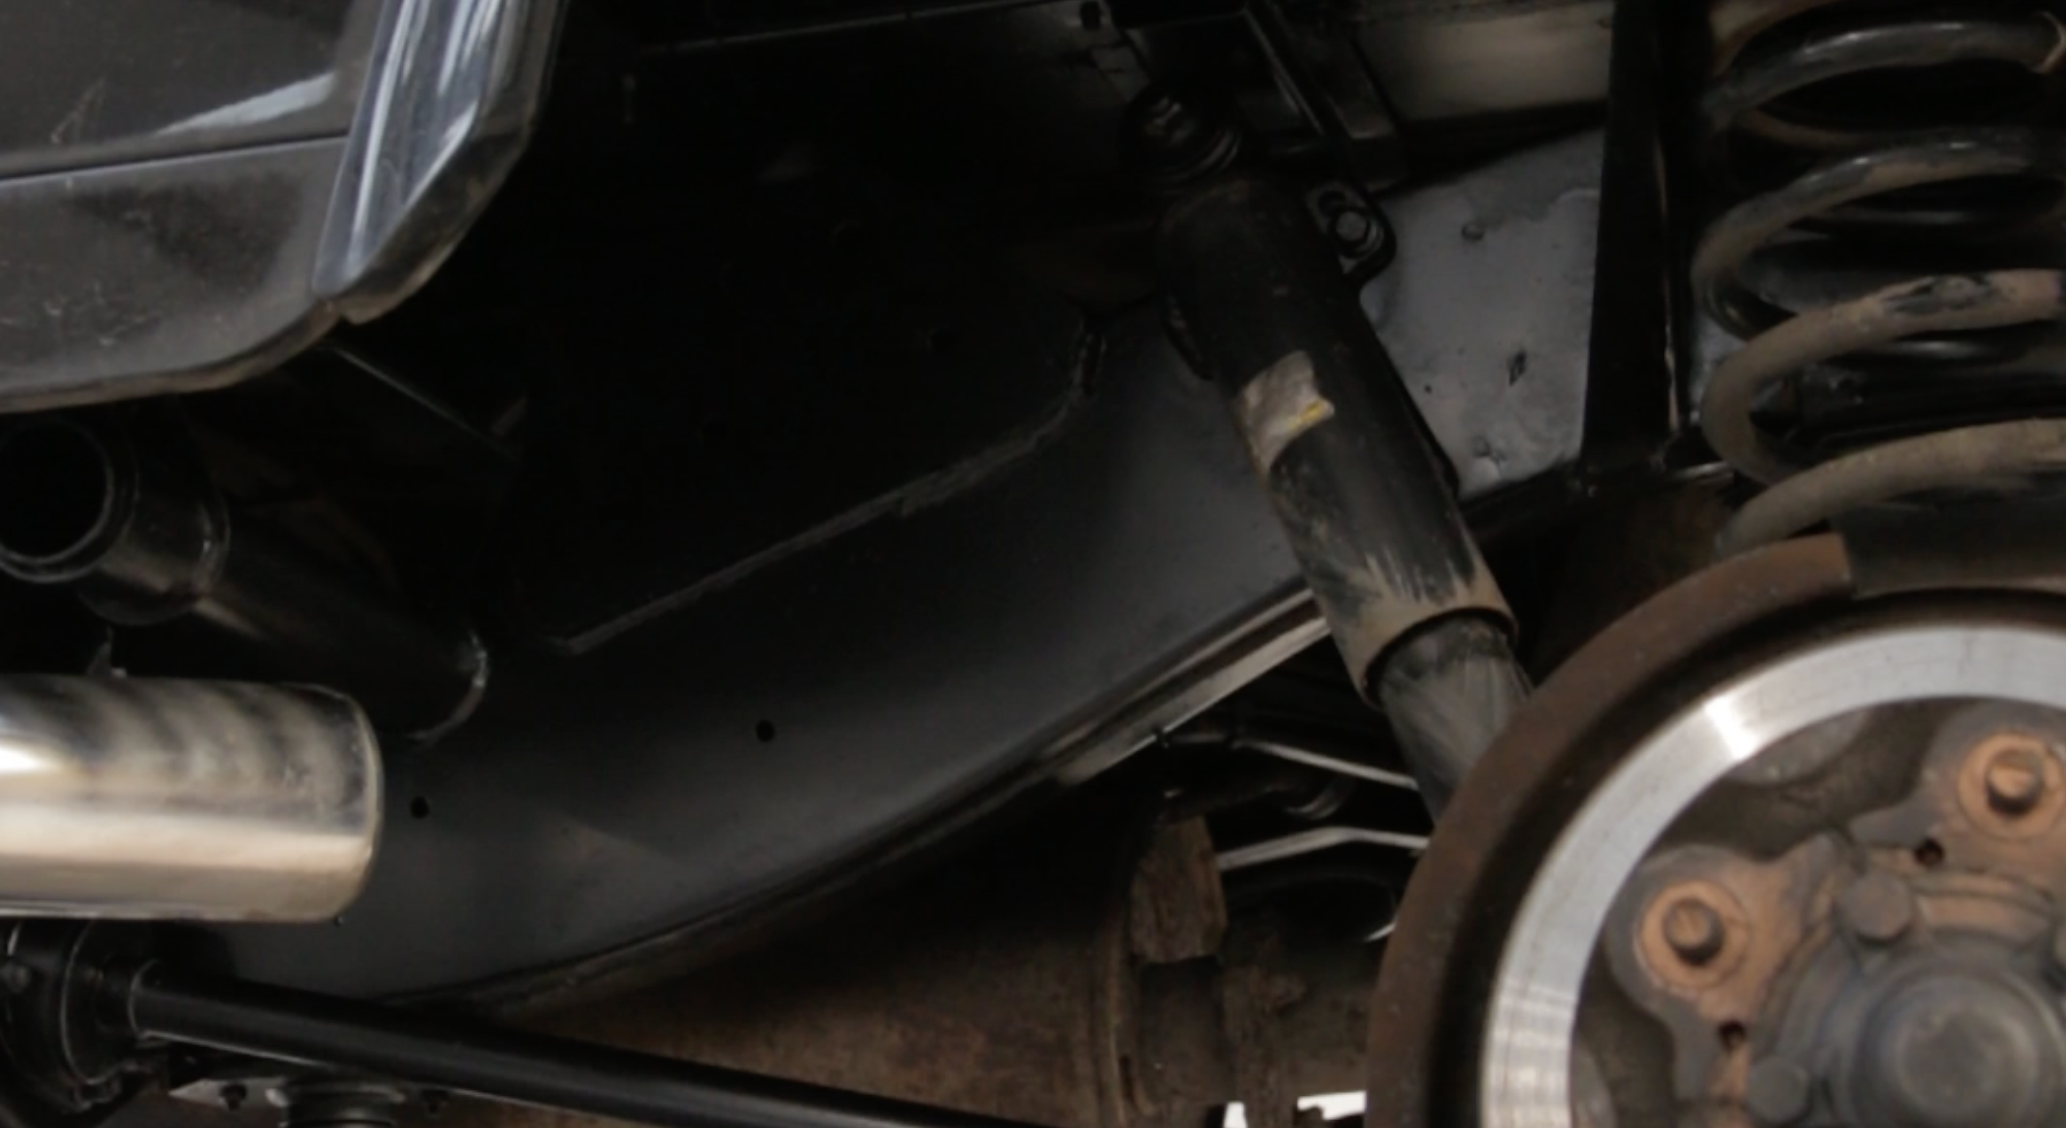
Are the winter roads taking a toll on your Defender chassis?
It’s that time of year, the roads are wet, the temperature is fluctuating constantly with regular frosts and that means we’re all driving our Defenders to cope with the weather.
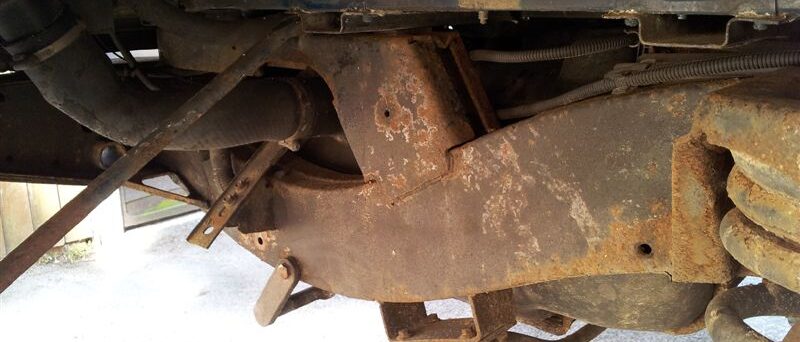
With frosty weather comes the need to grit the roads. With grit comes salt. With salt comes rust. Rust is the nemesis of all Land Rover owners not just Defender owners.
If you’re like most people, you probably don’t pay much attention to your chassis until there is a problem or it’s MOT time. In this blog post, we’re going to explain how to look after your Defender chassis to ensure you don’t get an unfortunate and rusty surprise.
STEP 1: REMOVE EXCESS SURFACE RUST WITH A WIRE BRUSH OR JET WASH
The first thing you can do is jump underneath with your wire brush and tackle any critical areas to remove excess rust (don’t forget to use eye protection and a mask to avoid getting any rust in your eyes or breathing the dust in). Once you’ve removed any excess rust from any problem areas then it’s time to bust out the power washer and give the chassis a good wash. Take your time with this, they say that the best result come from the preparation, so the better you can clean your chassis now the longer your protection will last.
Once you’ve given the chassis a good wash in every nook and cranny be sure to let it dry before moving on.
STEP 2: APPLY A RUST CONVERTER ON WORSENING AREAS
The next step is to use a rust converting agent on any affected area which is highly prone to rust or is already rusty. This includes weld seams, nuts and bolts, and sharp edges.
Once the rust converting agent is applied be sure to allow it to cure for the appropriate amount of time before moving on.
STEP 3: APPLY YOUR CHOSEN UNDERSEAL TO THE WHOLE CHASSIS
You can now apply your chosen underseal to the entire chassis. If using and aerosol based underseal make sure that you mask off any vital components that you don’t want to spray, avoid spraying brake discs, brake pads, and in the engine bay the fan belts.
The underseal will seals and safeguards the surface. By sealing the surface and removing all moisture and oxygen, a straightforward spray treatment will shield vehicles from all salt, acid, and alkaline damage.
STEP 4: LEAVE YOUR UNDERBODY TO DRY
Each underseal varies in drying times so be sure to follow the instruction on your chosen application before getting back in the mud! Generally, the first 24 hours of the curing process, it is advisable to let the car sit without being driven. Once it’s dry, you can then enjoy a rust-free chassis!
You can jet wash underseal to remove any built up grime from all your adventures. An underseal won’t remove existing rust, but it does bond to the metal surface below – when applied it seeps below the surface rust and then gradually overtime pushes the oxidation off.
STEP 5: REAPPLY ONCE A YEAR
We recommend reapplying once a year, ideally before the winter arrives! Repeat applications frequently go on faster than the initial coat. You can just coat-on-coat and spray over the top of last year’s coat rather than removing it. In essence, all that is required is a brief wash of the underbody the previous day, followed by drying off and spraying.
NO TIME FOR MUCKING AROUND?
Here at Masai 4×4 we offer a full chassis treatment service to restore your Defenders Chassis to its former glory and ensure that it will stand the test of time.
Our Chassis treatment includes:
- Rust removal
- Treatment of any areas that are degrading
- Patching critical areas that are rusting through
- Application of chassis under-seal to the entire chassis and axles
- Our bitumastic under seal gives a tough, flexible, anti-chip, anti-corrosive coating.
- Under Seal will provide a durable high impact protective coating against corrosion, water, stones & salt.